By Christopher W. Ferrone

At one time or another every bus and motorcoach operator has issues with panel corrosion, which is largely due to water and road salt. Not only is the corroded metal unsightly, it creates more serious problems once water seeps in behind the panel.
At Chicago Sightseeing Company we do everything we can to keep our motorcoaches for a 20-year life cycle, which means adhering to our strategy to keep our vehicles in safe and good condition. Panel corrosion will always be a situation we, like all operators, must face and repair. Over the years we have come up with an easy and perhaps obvious solution to this problem.
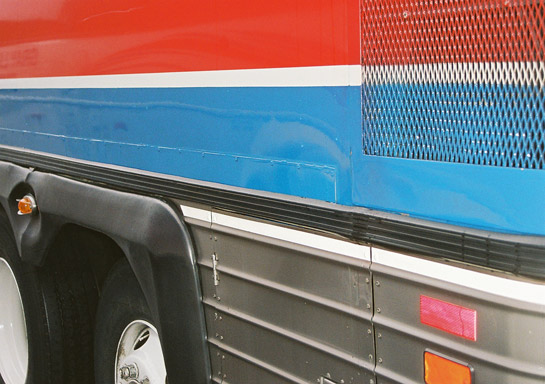
The panels on most motorcoaches corrode at the “belt line” just above the baggage door top seam. In some designs a hard piece of trim, or in some cases a rubber trim, covers this belt line, which can trap and collect water over time, spawning the corrosion process.
To keep corrosion under control, it is necessary to remove the corroded panel and replace it with new material.
Start by removing all the trim in the area of the corrosion. Then grind the corroded area and clean with an air gun. Measure at least two inches above and to the sides of the exposed area to leave room for the patch. This leaves a smooth look and affords a substantial surface for riveting.
Do not worry about riveting to the already smooth side panel of the motorcoach. It already has a large hole due to corrosion and the patch and rivets look much better.
The galvanized sheet metal is usually .0330 of an inch thick and available at most body shop supply houses. The thickness of the replacement metal is important to ensure the panel can receive the stainless steel rivets and not become wavy when viewed from the side.
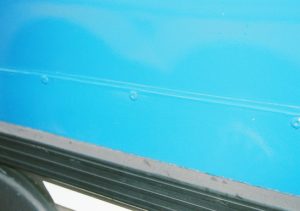
Once the patch is in place and secured to the side panel over the entire perimeter with the rivets, fill the heads of the pop rivets with caulk. Carefully and neatly wipe the excess from the head of each rivet for a clean look.
Next, outline the patch panel with masking tape as if you were to paint the panel. Locate the tape one quarter-inch above and to the sides of the patch edges to allow an area for caulk. Caulk all the edges of the new patch panel with primerless adhesion (QUAD/O.S.I.) synthetic rubber-type caulk. Avoid using the typical acrylic latex caulk due to the fact that IMRON paint normally does not adhere to acrylic well and over time will chip off from the caulk bead. After the caulk has “skinned” over, remove the tape and clean any excess caulk for the area. A neat caulk application gives the repair a proper look. Once the repair is complete and the caulk has properly cured for 24 hours, match paint the repaired section.

Some people think they need to use the body filler known as Bondo to maintain the smooth appearance of the coach. The problem with Bondo is the corrosion does not stop, and after a while actually seeps through the Bondo and begins to show. Also, as the coach body flexes during normal operation, the Bondo begins to crack around the edge of the repair to the point where the Bondo patch becomes visible and very unsightly.
We have done this type of panel repair for over 15 years at Chicago Sightseeing, and with great success. If done properly this repair procedure will last the duration of the motorcoach. Additionally, since the motorcoach structure is semi-monocoque, the exterior panels of the vehicle are not load bearing. Therefore, there is no concern when drilling and riveting to the exterior of the vehicle.
Christopher W. Ferrone is president of Americoach Systems Inc., Glenview, IL, an engineering firm specializing in transportation, technology, analysis and safety.
